It’s no secret: I value a good cup of coffee! …Or tea, or glass of red wine. But what I also value are my pearly whites! I often get complimented on my smile, and my response is typically something like, “Thank you! My mom paid a lot for it!” Because it’s true!
I had the WHOLE spectrum of events at the orthodontist office from elementary through high school: oral surgery because my mouth was too small for all my teeth, the expander (gosh that was THE WORST), nearly two years in braces, and then retainers… I’m sure a lot of you can relate! I even convinced my orthodontist to give me permanent retainers on top AND bottom — that’s right: You CAN have a permanent retainer on top! Straight teeth and a pretty smile were YEARS in the making for me, so I am super careful to take care of my teeth! (Never had a cavity. *knock on wood!*)
I brush my teeth morning and night religiously, so they stay fairly white, but when Smile Brilliant approached me to review their custom at-home teeth whitening kit I was intrigued! As a photographer, I know a lot of my clients, especially brides, whiten their teeth before getting in front of the camera, so a customized at-home option at a fraction of the cost from the dentist office sounded like a pretty good deal!
SMILE BRILLIANT AT HOME TEETH WHITENING KIT

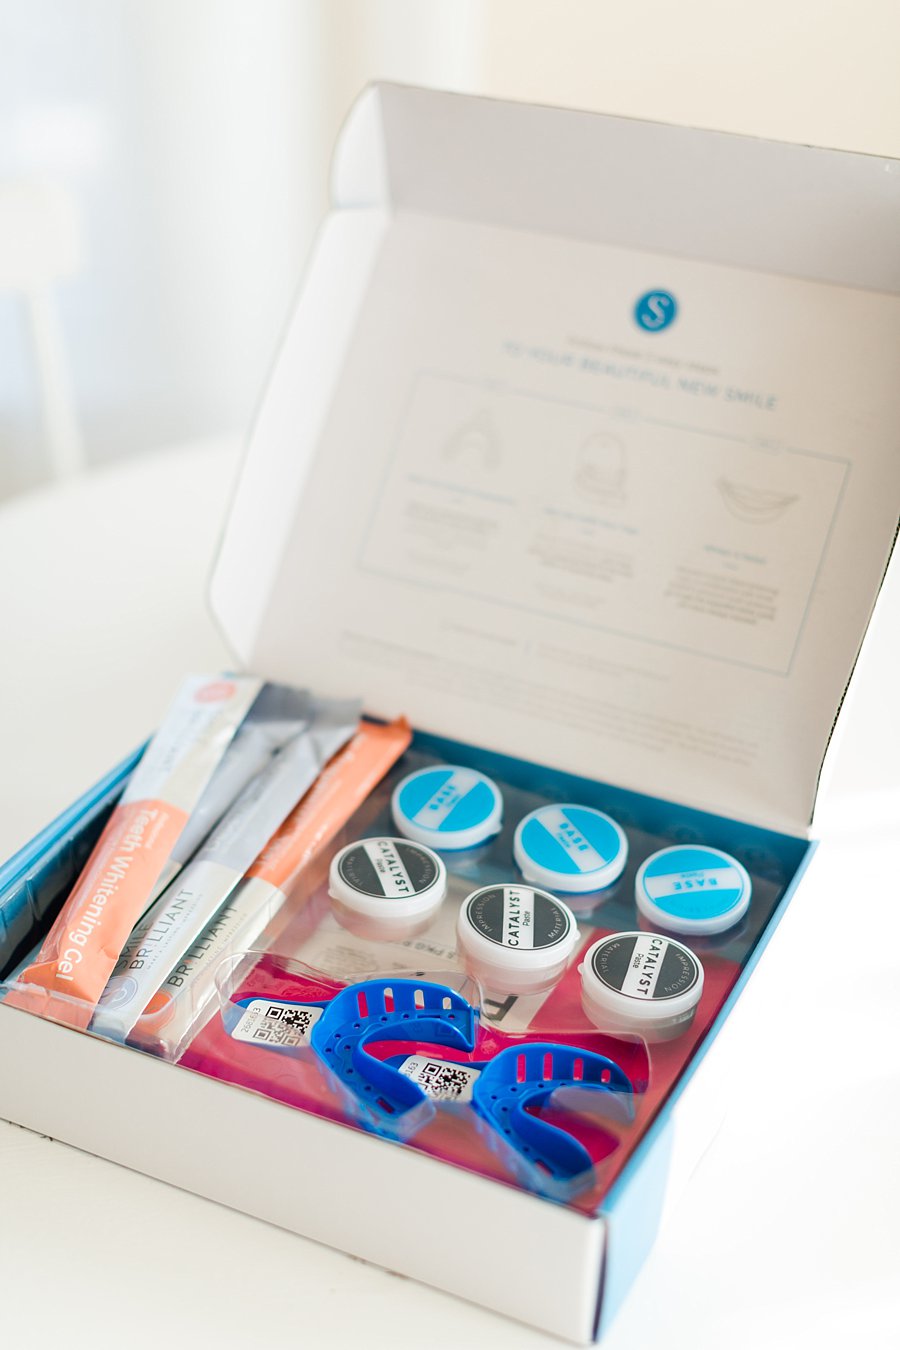
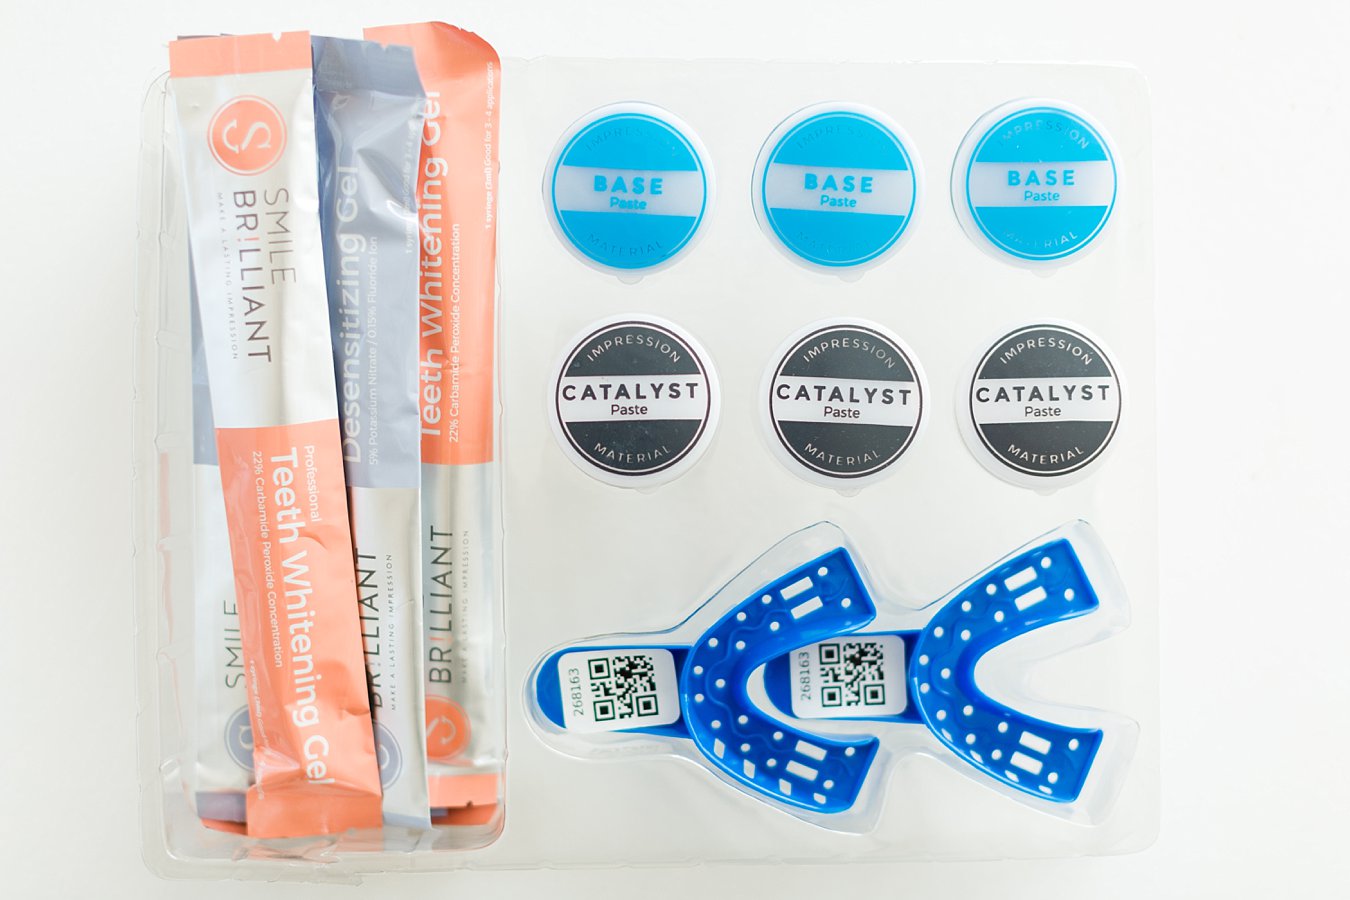
What makes Smile Brilliant different from other teeth whitening options is that they create custom teeth whitening trays for you to put the whitening gel in so that it covers your teeth completely and is more effective (and comfortable!) than the one-size-fits-all trays you’ll find at the store.
The Smile Brilliant kit comes with all the materials and instructions needed to easily make your custom teeth trays. If you’ve ever had braces or any orthodontist work done, you’ll be familiar with this process! After mixing the base and catalyst paste together, you insert it into the trays and take an impression of your teeth (flashbacks to the orthodontist’s office anyone?!). After the molds are set, you mail them in with a prepaid envelope and about a week later receive your custom fit trays! They are basically like Invisalign.
THE WHITENING PROCESS
The Smile Brilliant team recommends doing the whitening process at night after you are finished eating for the day so it is the most effective. You place the whitening gel in to the trays and then place the trays in your mouth for at least 45 minutes and up to 3 hours. It’s super easy to go on with the rest of your evening and most of the time I forgot I even had them in! I did experience some initial discomfort and sensitivity, but my teeth are sensitive anyway and the desensitizing gel provided helped with that issue! Overall, the process is very simple! You can just make it part of your evening routine for a week or two and at the end of it you’ll have a brighter smile! Like I said before, my teeth were already fairly white, so I didn’t have super dramatic results, but I did notice that my smile was brighter! Overall, I think this is a GREAT and affordable option for someone looking for a teeth whitening solution that is better than what can be found at the drugstore, but doesn’t cost hundreds of dollars a trip to the dentist office would. Another benefit is that the trays can be used for a few years, so you can easily reorder the whitening gel to use occasionally to maintain your results!
GIVEAWAY | WIN YOUR OWN KIT!
As a gift to my readers, Smile Brilliant is giving away a FREE kit to one of you!! All you have to do is enter your name and email address for a chance to win!
If you want to want to skip ahead and purchase your own kit, just use the coupon code ANGELALALLY15 for 15% off sitewide!

Add A Comment
VIEW THE COMMENTS