


*this post contains affiliate links*

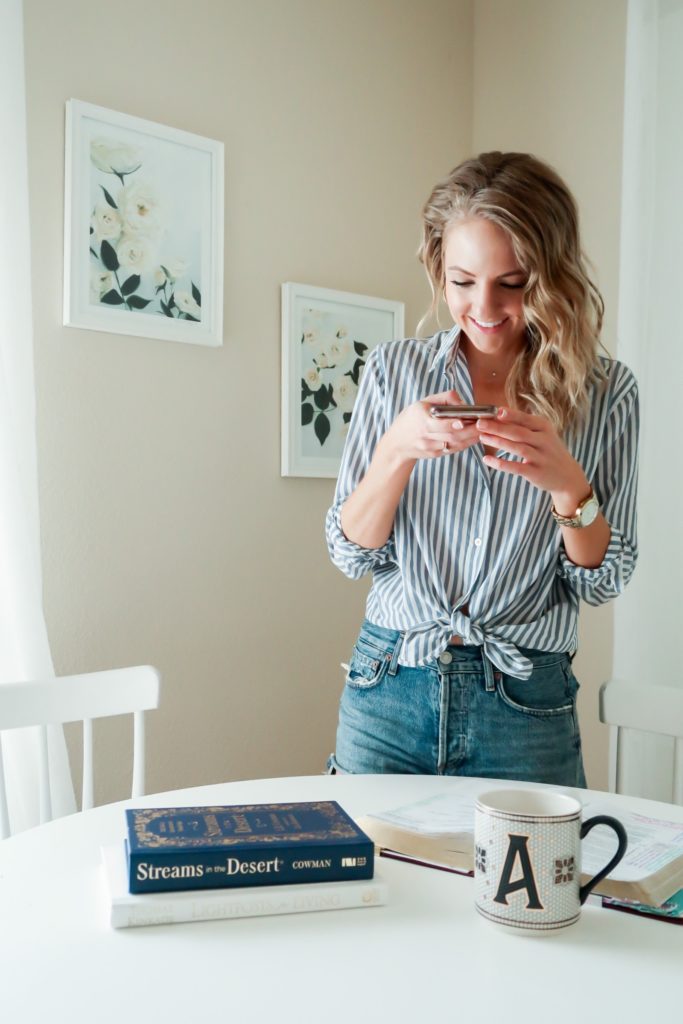
10 Tips for Taking Better iPhone Photos
I’m realizing that A LOT of things that come naturally and seem simple to me as a photographer aren’t necessarily natural and simple for non-photographers. It’s just the way my brain works and sometimes it takes me a second to realize little tweaks or tricks I learned when I was 12 aren’t common knowledge to everyone when they pick up their iPhone to take a photo. So, I put together a list of tips and tricks that I hope will to up-level your iPhone photo next time you pick it up to snap a photo!
1. Clean Your Camera Lens
This is so basic, I know, but whenever I pull out my iPhone to take a photo (or whenever someone hands over theirs over to me to snap a pic), the very first thing I do is take the edge or sleeve of my shirt and wipe off the camera lenses on the back. It’s like a natural reaction for me at this point! The glass on your lens picks up dirt and grime from surfaces and your hands throughout the day, and if you have a dirty, greasy lens, there will be NOTHING you can do to save that photo. So, don’t skimp on this one, trust me!
If your photo looks hazy, or there are foggy streaks across your image, these are key signs you need to give the lens a little cleaning. (Bonus tip: Do this on your front-facing camera when you snap a selfie, Instagram story, or FaceTime as well!)
2. Look for Good Lighting
Lighting is EVERYTHING. If you know anything about photography, then you know that the best times to shoot are during golden hour, either just after sunrise or just before sunset, when the lighting is softer and more even. If you’re taking iPhone photos at any other time of the day, look around and try to find even lighting — so no really bright spots or harsh shadows. Another note on lighting: Light will pick up whatever color it is reflecting off of. Example: If you are standing on bright green grass at noon on a sunny day, that light will bounce off the grass up onto your face to create a green cast. Same is true with red brick walls! (STAY AWAY!) Look for “natural reflectors” that are white or neutral colored like sidewalk, gravel pathway, across from a neutral colored building. These natural reflectors will help to bounce clean light on your subject so you don’t get funky color casts you can’t fully get rid of!
(If the image you want to take is a scene with harsh, mixed lighting, don’t worry… I have a tip for that coming up, keep reading!)
3. Rule of Thirds
You may have heard of this phrase before, but if you’re unfamiliar: The Rule of Thirds is a concept that divides your image using equally spaced 2 vertical lines and 2 horizontal lines, creating a 3×3 grid. Placing your subject matter on one of the lines or intersections makes your image more visually interesting!
4. Keep Horizon Lines Level
Nothing makes my eye twitch like a crooked photo! To keep things straight, look at the ground or water in the image and try to keep that level. That will help make everything else straight! If you don’t get it just right, you can always use the cropping tool later to adjust the angle.
5. Turn on the Grid Feature
This handy feature will help with both the Rule of Thirds and keeping your horizon lines straight! It applies a 3×3 grid to your camera view as you are taking the image. To turn on the grid feature on your iPhone, go to Settings > Camera > Grid (you’ll see a toggle to turn it on).
6. Lock the Focus on Your Subject
iPhones are pretty smart, but sometimes they just guess the focus wrong! But good news: You can select where you want your camera to focus yourself simply by tapping on your subject in the frame. You should see a little yellow square pop up — that is indicating what part of your image will be in focus!
7. Adjust the Exposure
First things first: Exposure affects how bright / dark your image is. You can easily adjust this while taking the photo to save yourself some time editing later. Remember that little yellow square that pops up when you are locking in your focus? Next to the square is a little sunshine. After you tap to select your focus, hold your thumb down and slide it up to increase the exposure (brighten) or decrease the exposure (darken). Easy peasy.
8. Use the HDR Feature in Mixed Lighting
HDR stands for High Dynamic Range. This setting works best in high-contrast lighting where you have really bright light and really bright shadows. Instead of one part of your image being completely blown out and the other really dark, this setting combines two exposures into one to create an image that is more like what your eyes see. To turn the HDR feature on, go to Settings > Camera > Scroll to the bottom: Toggle on Smart HDR.
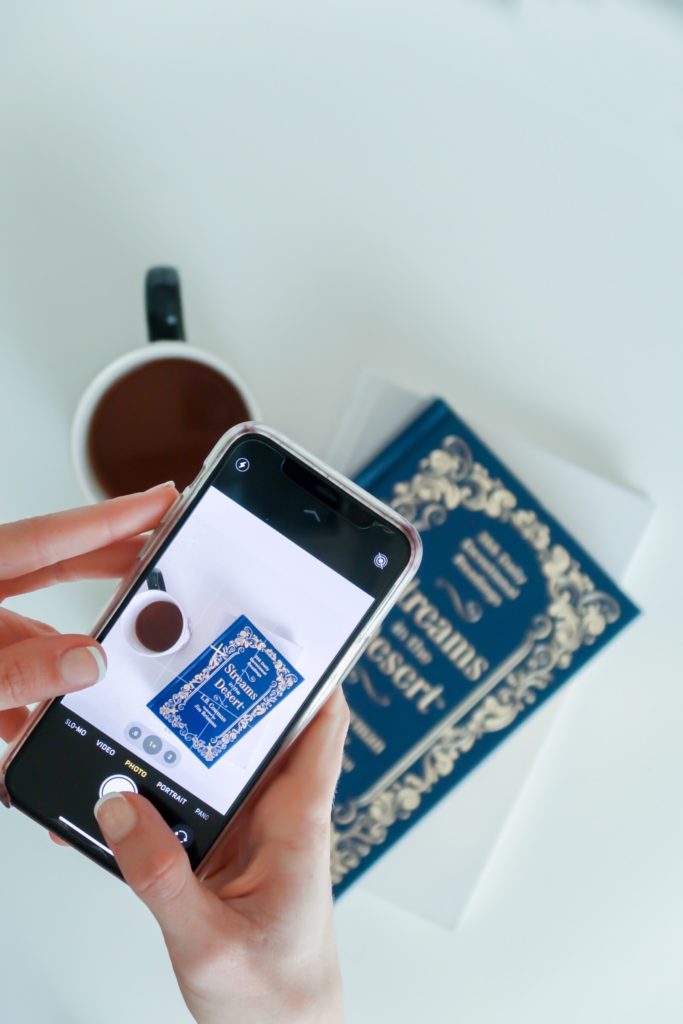
9. Use the Level Feature
If you’re taking a photo looking straight up or straight down (like of your pretty latte!), just like the horizon lines, it can be tricky to get your camera perfectly parallel to your subject. If you have the grid feature turned on, once your phone camera is pointed straight down or straight up, you’ll see two little + signs pop up: A white one and a yellow one. Move your camera to align the two, and once you have single yellow +, your phone is level and you can snap away!
10. Download the Lightroom Mobile App
It’s no secret that taking the photo is only part of creating your final image! The iPhone editing app has definitely improved, but there are better ones out there. My personal favorite is the Lightroom Mobile App! I use the Lightroom Desktop app to edit ALL of my professional images, so you know their mobile app is going to be GOOD. It allows for a lot more specific editing to help get your image just the way you want it!
Not sure where to start with editing your photo?
No worries! I have my own custom Lightroom Mobile Presets launching soon! If you don’t already know, a preset is basically a collection of edits bundled into one that you can apply to an image all at once. Instead of making individual edits for exposure, white balance, contrast, highlights, shadows, etc… my Lightroom Mobile presets will apply a specific set of edits all at once to take your photos from a basic iPhone shot to Instagram worthy photos in seconds! Here are a couple of my personal examples below — BEFORE on top, AFTER on bottom — edited with just one touch!
Join My Lightroom Mobile Presets Waitlist!
Join my Lightroom Mobile Presets Waitlist to be the first to be notified when they launch and get access to exclusive deals!


Add A Comment
VIEW THE COMMENTS